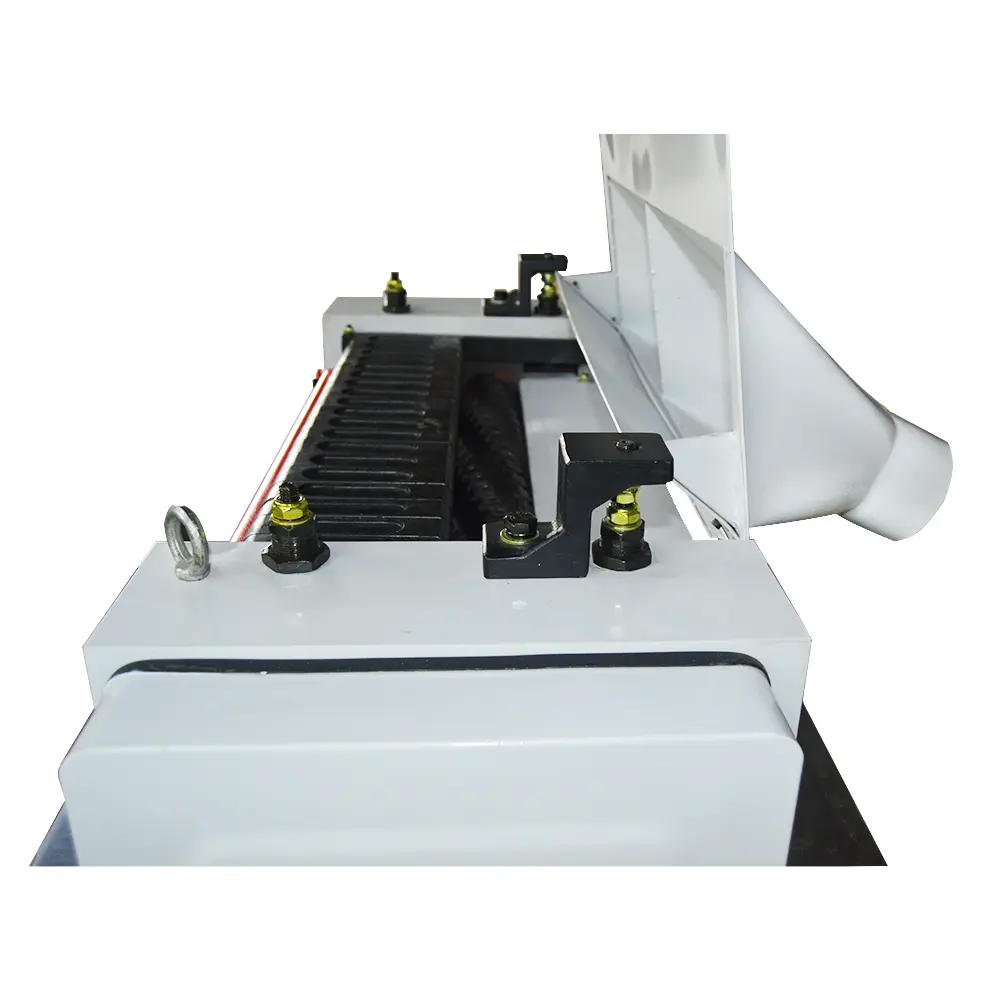
How to Use a Thickness Planer
Introduction
A thickness planer is an essential tool for woodworking professionals and enthusiasts alike. It is designed to smooth and flatten wooden boards, ensuring consistent thickness across the entire surface. Whether you are working on furniture, cabinetry, or any other woodworking project, a thickness planer can significantly enhance the quality and precision of your work. This comprehensive guide will walk you through the steps of using a thickness planer safely and effectively, covering everything from setup and preparation to operation and maintenance.
Safety Precautions
Before diving into the specifics of using a thickness planer, it is crucial to emphasize the importance of safety. Working with power tools can be dangerous if proper precautions are not taken. Here are some key safety guidelines to follow:
Personal Protective Equipment (PPE): Always wear appropriate PPE, including safety glasses to protect your eyes from flying wood chips, hearing protection to guard against noise-induced hearing loss, and a dust mask to avoid inhaling wood dust.
Proper Clothing: Avoid loose clothing, jewelry, or anything that could get caught in the machine. Tie back long hair and wear sturdy, non-slip shoes.
Tool Inspection: Before each use, inspect the planer for any signs of damage, such as loose screws, dull blades, or frayed electrical cords. Never operate a damaged tool.
Work Area: Ensure your workspace is well-lit, clean, and free of clutter. Keep the area around the planer clear to avoid tripping hazards.
Power Source: Always unplug the planer when making adjustments, changing blades, or performing maintenance to prevent accidental startup.
Material Handling: When moving the planer, use the provided handles and avoid lifting it by the base or motor. For heavy planers, consider using a dolly or getting assistance to prevent injury.
Unpacking and Initial Setup
When you first receive your thickness planer, carefully unpack it and check that all components are included. Typically, a planer package will include the planer itself, a dust collection port, a depth adjustment crank handle, and possibly additional accessories like folding tables. Here are the steps to set up your planer:
Unpack and Inspect: Carefully remove the planer from its packaging and check for any signs of damage during shipping. Ensure all parts and accessories are present.
Assembly: Attach any necessary components, such as the depth adjustment crank handle. Insert the crank handle over the shaft and secure it with the provided screw and T-wrench.
Dust Collection: If your planer includes a dust collection port, attach it according to the manufacturer’s instructions. Ensure the port is securely locked in place to prevent dust and chips from escaping.
Table Setup: If your planer comes with folding tables, follow the provided instructions to attach them to the base. Ensure they are securely fastened and fold properly for transport.
Understanding the Components
Familiarizing yourself with the various components of the thickness planer is essential for effective operation. Here are the key parts and their functions:
Cutter Head: This is the rotating component that houses the cutting blades. It is responsible for removing material from the wood.
Depth Adjustment Crank: This handle allows you to raise or lower the cutter head to set the desired thickness of the material being planed.
Material Removal Gauge: This gauge indicates the amount of material that will be removed in a single pass, based on the current position of the cutter head.
Feed Rollers: These rollers guide the wood through the planer, ensuring smooth and consistent movement.
Dust Collection System: This system helps remove wood chips and dust from the work area, improving safety and cleanliness.
On/Off Switch: Located on the planer, this switch controls the power to the machine.
Preparing the Wood
Before you begin planing, it is important to properly prepare the wood. Here are some steps to ensure the best results:
Inspect the Wood: Check for any knots, cracks, or irregularities in the wood. Remove any foreign objects or debris that could damage the planer or affect the quality of the work.
Measure and Mark: Measure the thickness of the wood and mark the desired final thickness. This will help you set the planer to the correct depth.
Ensure Flatness: Ideally, the wood should have at least one flat surface before planing. If the wood is twisted, cupped, or bowed, it may require additional preparation or a different approach.
Setting Up the Planer
Proper setup is crucial for achieving accurate and consistent results. Follow these steps to set up your thickness planer:
Position the Planer: Place the planer on a stable, level surface. If possible, secure it to a workbench or table to prevent movement during operation.
Adjust the Depth: Turn the depth adjustment crank to set the cutter head to the desired height. Use the depth adjustment scale to ensure accurate settings.
Set the Feed Speed: Depending on the planer model, you may have the option to adjust the feed speed. Choose a speed that is appropriate for the type of wood and the amount of material being removed.
Post time: Aug-11-2025

