How Does a Thickness Planer Ensure the Wood’s Flatness? A Comprehensive Guide
For woodworkers—whether hobbyists crafting furniture in a garage workshop or professional carpenters producing high-precision joinery—wood flatness is non-negotiable. A warped, bowed, or cupped board can ruin hours of work: cabinets won’t align, tabletops will wobble, and joinery (like dovetails or mortise-and-tenon) will fail to fit. This is where a thickness planer becomes your most trusted ally. But how exactly does this machine transform uneven lumber into perfectly flat, consistent stock? Let’s dive into the science, mechanics, and engineering that make a thickness planer a master of flatness.
Why Wood Flatness Matters (And Why It’s Hard to Achieve)
Before we explore the planer’s role, let’s first understand the challenge. Natural wood is prone to deformation due to:
Moisture changes: As wood dries or absorbs humidity, it shrinks or swells unevenly, causing bowing (lengthwise curve), cupping (edge-to-edge curve), or twisting (spiral deformation).
Grain irregularities: Knots, grain patterns, and density variations can create “high spots” that resist uniform cutting.
Rough milling: Even after a jointer (which flattens one face), lumber often retains slight inconsistencies that need refinement.
A thickness planer solves these issues by addressing two critical goals: creating a uniform thickness across the board and ensuring the second face is perfectly parallel to the first—the foundation of true flatness.
The Core Principle: “Two-Sided Benchmarking” for Uniformity
At its heart, a thickness planer guarantees flatness through a simple but brilliant mechanism: using one flat surface as a reference to shape the other. Here’s the step-by-step breakdown of how it works:
Prepare the “reference face” first: Before feeding wood into a thickness planer, you’ll typically use a jointer to flatten one face (called the “face side”) and one edge (the “face edge”). This gives the planer a perfectly flat starting point.
Secure the reference face: When you feed the board into the planer, the machine’s infeed table (a precision-flattened surface) supports the pre-joined face. The table acts as a “benchmark”—any deviation from flatness on the top face will be targeted by the cutterhead.
Trim the top face to match the reference: The planer’s cutterhead (equipped with sharp blades) rotates at high speed (often 5,000–10,000 RPM) to shave off the uneven top surface. The distance between the cutterhead and the infeed table is precisely controlled—this determines the final thickness of the board. Since the infeed table is flat, the trimmed top face will be exactly parallel to the reference face, eliminating bowing, cupping, or high spots.
Key Components: The “Flatness Guardians” of a Thickness Planer
A planer’s ability to ensure flatness isn’t just about its basic principle—it depends on the precision and quality of its core components. Let’s break down the parts that make all the difference:
1. Precision-Ground Infeed/Outfeed Tables
The tables (infeed and outfeed) are the “backbone” of flatness. High-quality planers use cast iron or heavy-gauge steel for these tables, because:
Cast iron resists warping (even with temperature changes) and holds its flatness for decades.
The tables are ground to an ultra-precise tolerance—often within 0.001 inches per foot (25 microns per meter). This means there’s no detectable curve or bump across the table’s surface.
Many premium models add a Teflon or ceramic coating to the tables, reducing friction so the wood feeds smoothly without sticking—a critical detail, as uneven feeding can cause the cutterhead to remove more material from one side.
2. Dual Pressure Rollers: Keeping Wood Stable During Cutting
Even with a flat reference face, wood can shift or lift during feeding—destroying flatness. This is where pressure rollers (also called “feed rollers”) come in:
Most planers have two sets of rollers: one above the infeed table (to press the wood down) and one above the outfeed table (to pull it through).
The rollers apply uniform downward pressure across the board’s width, ensuring the reference face stays pressed firmly against the table. No lifting = no uneven cuts.
Advanced models let you adjust roller pressure: for softwoods (like pine), you use lighter pressure to avoid denting; for hardwoods (like oak), heavier pressure keeps the wood from slipping.
Some high-end planers use spiral grooved rollers instead of smooth ones. The grooves grip the wood better, even if the top surface is rough, preventing “chatter” (vibrations that leave wavy marks).
3. Cutterhead: Sharp, Balanced, and Precise
The cutterhead is responsible for removing material—and its design directly impacts how smooth and flat the final surface is:
Blade quality: Professional planers use carbide-tipped blades (instead of high-speed steel) because they stay sharp longer and make cleaner cuts. Dull blades tear wood fibers instead of slicing them, creating rough, uneven surfaces.
Blade alignment: Blades must be perfectly aligned with the cutterhead’s axis. Even a 0.002-inch misalignment can create a “step” in the wood’s surface. Many planers have a quick-set blade system to ensure precise alignment.
Cutterhead balance: A balanced cutterhead spins without vibration. Unbalanced heads cause “chatter marks”—small, wavy ridges across the wood. Premium planers use dynamic balancing (testing the cutterhead at operating speed) to eliminate this.
Number of blades: More blades = smoother cuts. Entry-level planers have 2–3 blades, while professional models have 4–6. For example, a 6-blade cutterhead removes smaller “chips” with each rotation, resulting in a flatter, finer surface.
4. Depth Adjustment System: Micron-Level Control
To get a perfectly flat board, you need to remove exactly the right amount of material—no more, no less. The depth adjustment system ensures this precision:
Most modern planers use a gear-driven or lead screw system to adjust the distance between the cutterhead and the table. This allows for adjustments as small as 0.001 inches (25 microns)—fine enough to correct even the smallest high spots.
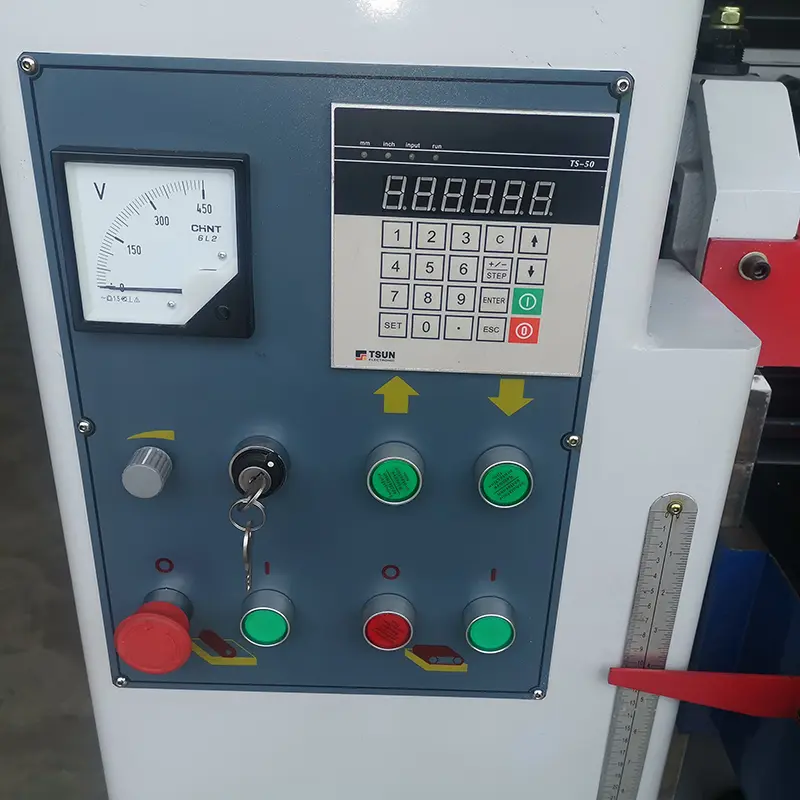
Digital planers add an LCD display that shows the exact thickness setting, eliminating guesswork. For example, if your board has a 0.03-inch high spot, you can set the depth to remove 0.04 inches, ensuring the entire surface is flat.
The depth stop feature lets you repeat the same thickness across multiple boards—critical for projects like cabinet doors or shelving, where all pieces must match.
How a Thickness Planer Fixes Common Wood Defects
Now that we understand the mechanics, let’s see how the planer tackles real-world wood problems:
1. Bowed Wood (Lengthwise Curve)
A bowed board curves upward in the middle (like a smile). When fed into the planer:
The reference face (flattened by a jointer) sits on the infeed table.
The pressure rollers press the board down, forcing the bowed top surface against the cutterhead’s path.
The cutterhead shaves off more material from the middle (the high spot) than the ends, resulting in a straight, flat board.
2. Cupped Wood (Edge-to-Edge Curve)
A cupped board curves upward along its edges (like a cup). The fix:
After jointing one face (the “flat side”), the cupped side faces up.
The pressure rollers distribute even pressure across the edges, keeping the reference face flat on the table.
The cutterhead removes material from the cupped top, gradually flattening it until it’s parallel to the reference face.
3. Twisted Wood (Spiral Deformation)
Twisted wood is trickier, but the planer still helps:
First, use a jointer to flatten one face and square one edge (this breaks the twist’s “symmetry”).
When feeding the twisted board into the planer, the pressure rollers hold the reference face and edge in place.
The cutterhead trims the top face to be parallel to the reference face, reducing the twist. For severe twists, you may need to flip the board and make a second pass—this “counteracts” the spiral and creates a flat surface.
Pro Tips to Maximize Flatness: Beyond the Machine
Even the best thickness planer needs proper use to deliver perfect results. Here are woodworker-approved tips:
Always joint first: Never feed unjointed wood into a planer. Without a flat reference face, the planer will just “follow” the wood’s warping—making it uniform in thickness but still uneven.
Take light passes: Trying to remove 0.1 inches of material in one pass is a mistake. It puts stress on the motor, dulls blades, and can cause the wood to lift. Instead, take 0.01–0.03 inch passes (for hardwoods) or 0.03–0.05 inch passes (for softwoods). The final pass should be a “skim” (0.005 inches) for a glass-smooth surface.
Check wood moisture content: Wood with moisture content above 12% is prone to warping after planing. Use a moisture meter to ensure your lumber is dry (6–8% for indoor projects) before processing.
Clean the tables regularly: Sawdust buildup on the infeed/outfeed tables creates tiny bumps that ruin flatness. Wipe the tables with a dry cloth after every use, and use a vacuum to clear sawdust from the roller grooves.
Use a push stick for narrow boards: Narrow boards (less than 3 inches wide) can slip under the pressure rollers. A push stick keeps the board aligned and pressed against the table, ensuring even cutting.
Choosing a Thickness Planer for Maximum Flatness: Key Buying Criteria
If you’re in the market for a thickness planer (or upgrading your current one), prioritize these features to ensure flatness:
Table material: Cast iron > steel > aluminum (aluminum is lighter but prone to warping over time).
Cutterhead type: Spiral cutterheads (with replaceable carbide inserts) are better than straight blades—they reduce chatter and stay sharp longer.
Pressure roller adjustment: Look for models with variable roller pressure (critical for different wood types).
Depth adjustment precision: Digital displays or micro-adjust knobs are more accurate than manual dials.
Dust collection: A built-in dust port (4-inch diameter is ideal) keeps sawdust off the tables and out of the cutterhead—cleaner operation = flatter results.
Post time: Aug-27-2025